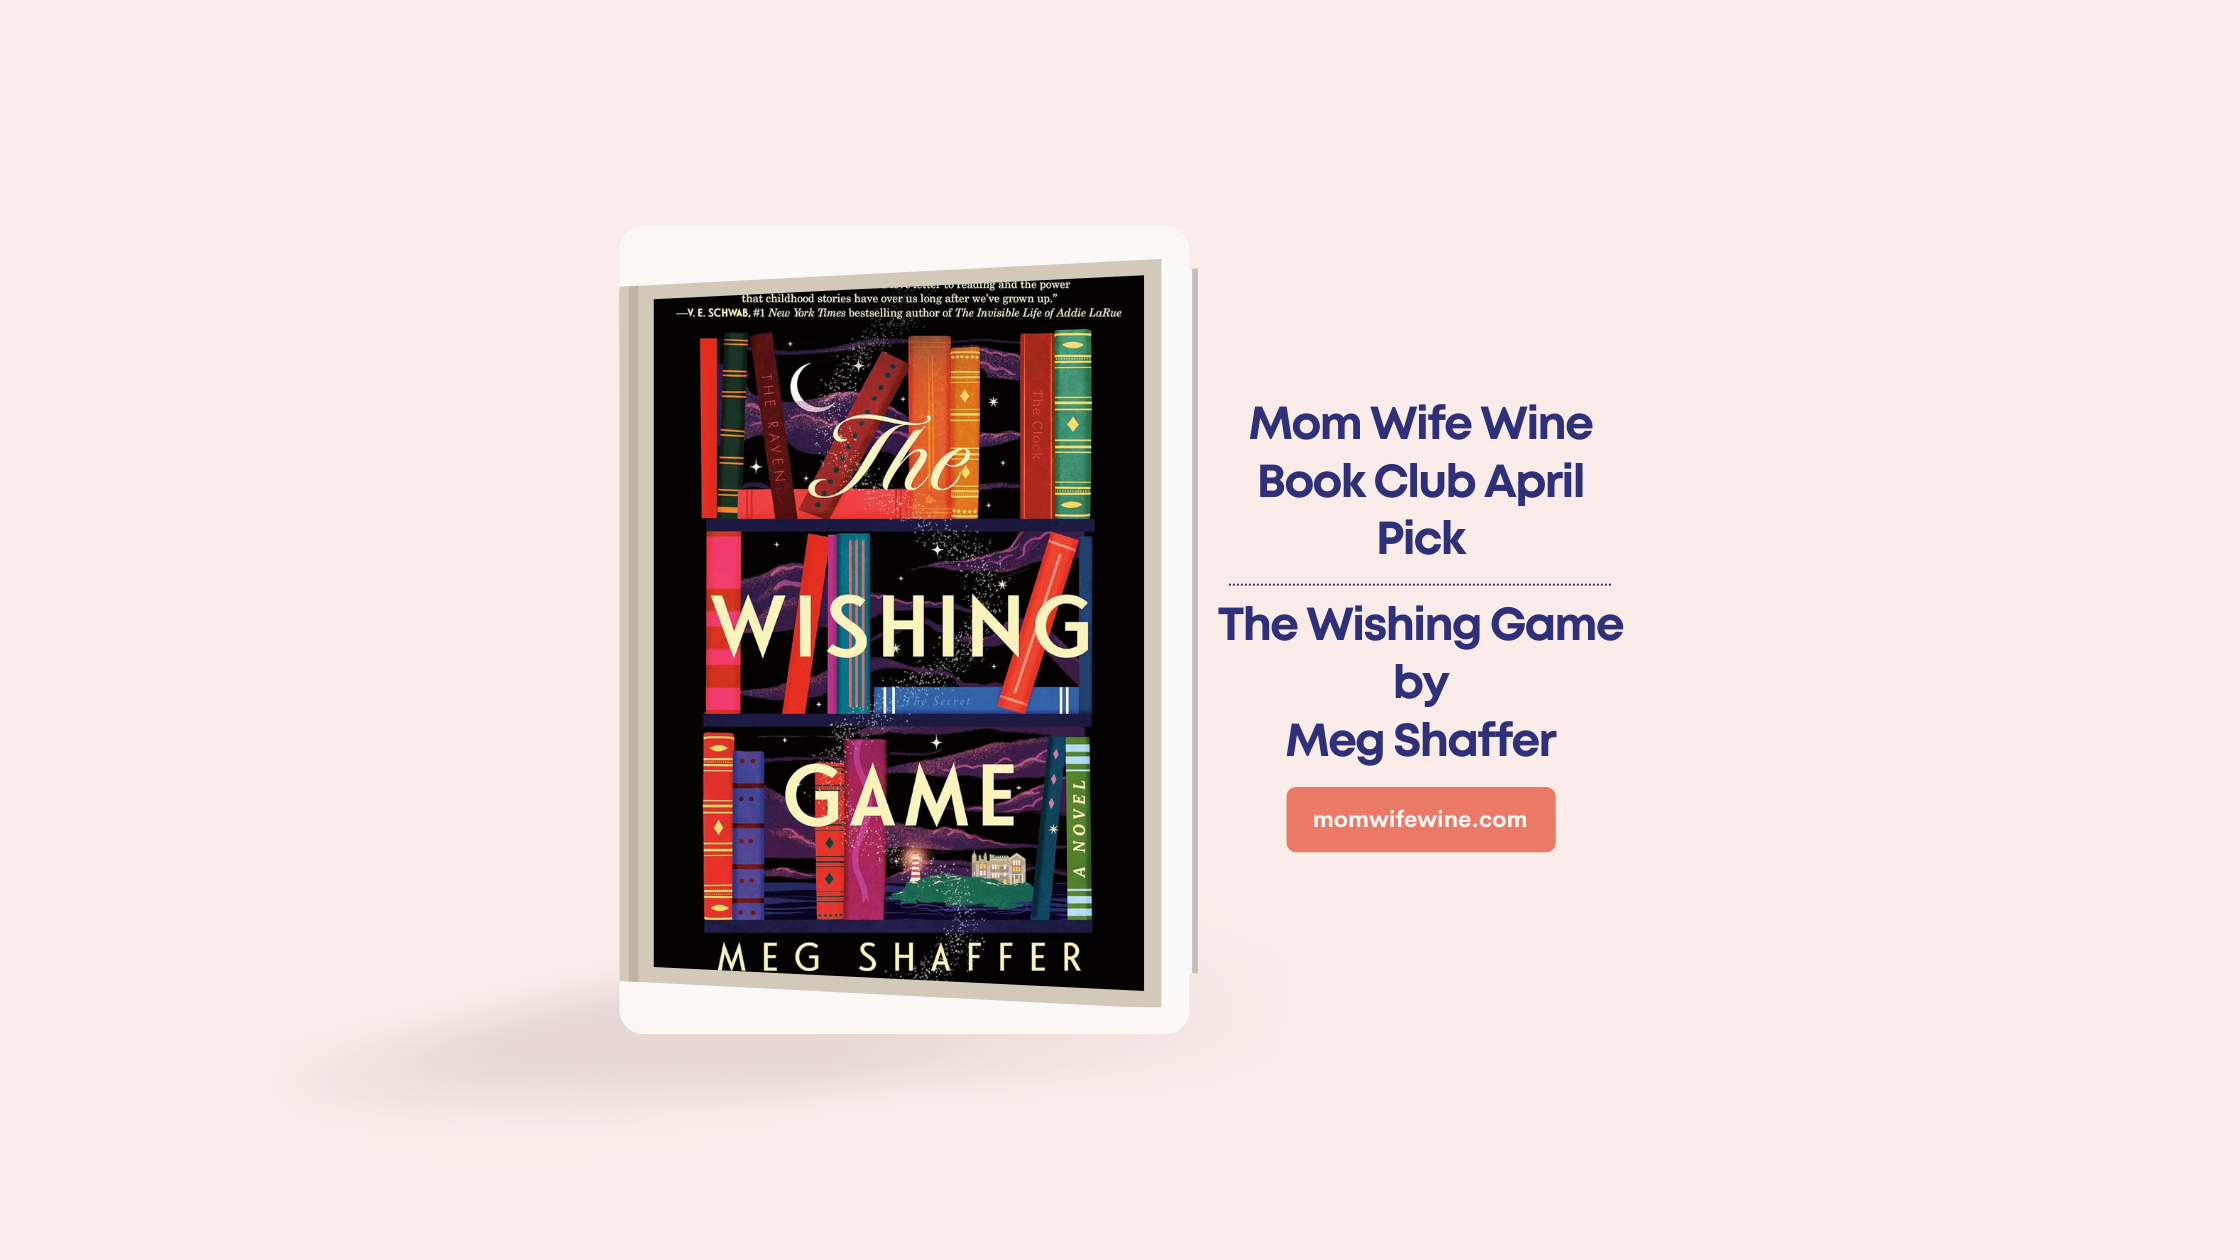
Categories
Craft Marriage Toddler and Preschool Age Fun

40 Free or Cheap Date Night Ideas

Yesterday was my husband’s birthday. It was not exciting at all… he got his gift early (last) week, which was a circular saw and the rest of his gifts won’t be here until tomorrow because I’m a crappy wife and ordered them late. He went to work, after work he rushed home to grab Sylas and Josie and then rushed to Nevaeh’s choir concert, while Liam and I went to my nephew’s high school graduation.

After the choir concert, Chris rushed back to our side of town to pick Peyton up from the school when he got back from his Macinack field trip. By the time we all got home, it was 9 pm and we hadn’t done anything fun all day. Sylas asked about 10 times when we were going to the park for daddy’s birthday because we always have Sylas’ parties at the park. LOL.

I knew ahead of time that Chris’ birthday wouldn’t be very “special”, so the littles and I took some time to make him a couple of homemade gifts.

***This post contains affiliate links. It costs you nothing extra, but I may receive a small commission.***

I helped the kids make him some handprint crafts. Josie made a birthday cupcake using her hand, and then the flames on her “candles” are made from her fingerprints.

Sylas and Liam made little monsters. Sylas used his hand (minus the middle finger) to make his monster, and then I added the eye and mouth myself. Liam made a monster using his foot, and then I added the smile and eyes. I helped Liam make polka dots on his monster, too.

Sylas and Josie also did some free art time and they both chose to make pictures for daddy. They’re so sweet and I’m trying to help them understand that they should try and make daddy feel special on his birthday like he does for them on theirs.

 Josie’s artwork for daddy, it’s two different spaceships.

 One of Sylas’

 Sylas’ other one… this one is a tall tower, a dragon, and rain.

So then MY DIY project for Chris was a date night jar. We struggle with finding things to do when we are stuck at home and I always want to bond more than we do during a normal week.

We ALWAYS talk about having more date nights but with the kids, it’s really hard to find the time.

I decided to create a “Date Night” jar, full of things we can either do at home or (with a little planning ahead) find a babysitter for a couple of hours while we do something quick but fun.

I used a mason jar (I buy mine on Amazon) to hold the date night ideas. Then, I made a tag for a label, used a hole punch to make a hole in the tag, and slipped it onto twine before tying the twine around the neck of the bottle.

When we are wondering what we should do to have some fun, we just draw a date from the jar and go with the first one we pulled out. The ones that require a babysitter or a little planning ahead, I marked with a different color so that we know to avoid those ones when we know we are stuck at home.

No more sitting around wasting time on our phones or cleaning when we want to bond and spend time together… now we have plenty of ideas. 🙂

Are there any free/cheap date nights you would add to this list? Let me know in the comments. 🙂

Categories
Wine Wednesday

Wine Wednesday

I love Wine Wednesday. Gives me an actual *reason* to indulge in wine, know what I mean? 😉

This week I’m going to talk about Flipside, which is a dry red blend.

The cherry in this blend is very overwhelming, both when smelling and tasting. I also smelled hints of cocoa and pepper. Again, the taste has an overwhelming dark cherry flavor and I also noticed flavors of pepper and vanilla.

The tastes did blend together very well, but I would definitely pair it with a bolder food, probably something spicy. My husband (who thinks everything tastes like Mad Dog 20/20) actually said it’s not too bad!! I didn’t mind it but it wasn’t one of my favorites. I’d give it a 3 out of 5.

Categories
Toddler and Preschool Age Fun Toddler and Preschool Age Learning

Magazine Letter Hunt

What’s better than an activity that involves letter recognition, cutting, and gluing? An activity that the kids LOVE and one that holds their attention for a while, right? What if I told you this activity does ALL OF THAT?

I’m serious.

I was inspired by Playful Learning in the Early Years. She did this activity on a poster-size scale and with each letter written out on one big piece of paper. The kids lined up their cut out letters next to the written letter.

My kids only know a handful of letters, though, so I thought writing them ALL out at once would overwhelm them. For this activity I wanted to work on letter H. No reason, really, it’s just one of the letters that they didn’t really know yet. I plan on doing this same activity with pretty much every letter of the alphabet at some point.

I took a single sheet of paper and wrote the letter H at the top of the page in both uppercase and lowercase. I handed the kids scissors, glue sticks, and a stack of magazines and asked them to find H’s, cut them out, and glue them to their paper. Sylas was able to do it all on his own and I worked with Josie on hers. Josie only wanted to do like, three H’s and then got distracted by pretty shoes and started cutting out the entire outfit. At least she focused on the letters for a little bit.

I guess this is also a good time to talk about when activities don’t go as planned. Josie literally covered up most of her letters with a giant picture of an actress’ outfit… THAT’S OKAY. She still took something from the activity.. we talked about and looked for the letter H, and she was able to pick some of them out herself. She also worked on fine motor concepts. Cutting, gluing, using her pinching fingers when needed, and also she made a little collage. She’s happy with what she created, she learned, she worked on other concepts, and she enjoyed herself. It’s totally okay if your child doesn’t do exactly what you had envisioned.


Next time I’ll probably cut the paper in half because the letters were small and didn’t cover much of the page anyway.

They really liked this one because they love cutting and gluing, and apparently they think it’s fun to cut up mommy’s magazines.

And a bonus – now they are BOTH recognizing H.

What are your favorite ways to teach letter recognition? I’m always looking for new ideas. 🙂


**Note – Sylas just turned 4 a couple days ago and Josie is 2.


Categories
Our Family

Happy Birthday To My First Born

How can it be that my first born is four years old? My sweet Sylas… the baby who taught me how to be a mom, how to successfully breastfeed, how to change a diaper on my lap, how to love with my whole entire heart. We learned all the hard parts together and formed a bond greater than anything I ever thought possible. Through all the sleepless nights, exhausting days, frustrated tears, painful nursing, we grew closer to one another. He became my best friend and my sidekick. He became my rock, even though I know I’m supposed to be his.

He taught me to smile on the hard days and fight through what seemed like unbearable post-partum depression. Looking back, I realize I could have been such a better mom if only I hadn’t been so depressed but Sylas loved me unconditionally anyway. Holding him and talking to him when he was an infant was the only thing that made me feel better some days.

Even now, all these years later, I go to Sylas when I’m feeling sad. This boy can always cheer me up and knows just what to say to make me smile. His sweet kisses and big hugs can cheer me up any day. We have come so far together in these 4 short years.

This boy is perfect in every single way. He is so smart, funny, caring, and a little bit crazy. He’s my little love bug and will always be a baby in my eyes… my sweet, sweet, baby. How crazy that my boy has grown from a tiny little baby who nursed non-stop, constantly held onto mama’s finger, and rested in mama’s arms most of the day into a 4-year-old, independent, crazy, wild almost preschooler. I can’t believe it and I wish time would SLOW down. I need my baby just a little longer before he realizes he doesn’t need me anymore.

Today is your day, my little superhero. This is the day mama’s life changed… the day mama became a better person… and the day mama found a love that would forever overfill her heart. This is the day you were born, and a day that is so special to me. I love you, Sylas Pierce,  more than you’ll ever know.

Categories
Friday Favorites

Friday Pinterest Favorites

It’s Friday so I’m here to share some of my favorite pins from the week!! I love all the different ideas that can be found on Pinterest.

Lego Zip Line from Little Bins for Little Hands -How cool is this?! My boys LOVE legos and with their age difference (6 years) it’s hard to find things that they both enjoy. I’m so excited to show them this and help them make it together.


We Decided On Forever sign made by ThisPhraseofLife on Etsy – Omgosh I am in LOVE with this sign. I pretty much have to have it. After finding this sign I browsed around on her Etsy shop a little and I basically loved every item she sells. Seriously, you should check it out.

Just Another Manic Mom-Day Design Silhouette for Cricut by GalliniDesign on Etsy – When I first pinned this I thought it was going to take me directly to a shirt that I could buy but I was pleasantly surprised to find that it is actually a silhouette to use with a Cricut. That means I can put this saying on anything! How awesome is that?!

Find & Erase Matching Shapes by Jamie at Hands on As We Grow – If you guys saw my post from yesterday (Name and Letter Recognition with Sidewalk Chalk), you know that we like to do learning activities outside. I love this one because it ties learning, sidewalk chalk, and water play together in one activity. My kids love all of the above, but water play is definitely their favorite. It’s supposed to storm this weekend but on the next nice day we have, we will definitely be trying this activity. Oh, and while I was on Jamie’s blog, I signed up to do a 7-day challenge of doing activities with my toddlers. I can’t wait to read the emails and see what it entails!


What are some of your favorite pins from this week? Leave a link in the comments so I can check them out. 🙂

Categories
Family Activities Our Family Toddler and Preschool Age Fun Toddler and Preschool Age Learning

Name Recognition with Sidewalk Chalk

While we were outside playing today I wanted to do a learning activity with the toddlers. We hadn’t done much all day because Liam had a reaction to eggs and it threw our day off a little while we dealt with that.

The kids were using sidewalk chalk so I grabbed a couple pieces myself and wrote out the names of everyone in our immediate family. We’ve been working so hard on name and letter recognition so I wanted to reinforce what we have been learning.

I asked Sylas to find his name and he did immediately, then he noticed that my name has the same letter as his name. We talked about how he will see the letter ‘S’ in a few different names in our family so I asked him to show me every name that had a letter ‘S’ in it. He was able to identify them all!

Then he went and stood on Peyton’s name and actually told me that it was Peyton’s name! I hadn’t read any of them to him so I was a little surprised. I asked how he knew and he said, “It has his first letter!” He couldn’t remember that it was called ‘P’ so we worked on that a little, too.

We worked our way through all the names and the letters they have in common.

It was super effective and since we had never done it with sidewalk chalk before, he paid attention a little longer and seemed to pick up on more of the learning aspect.

Bonus, there is absolutely no clean-up required. 😉

Categories
Craft Toddler and Preschool Age Fun

Paper Plate Wolf Craft

My toddlers are obsessed with the big bad wolf right now, Josie especially. Her favorite is The 3 Little Pigs but she’s also really enjoying Little Red Riding Hood.

We read the books pretty often and I also found a couple YouTube videos of each story that the kids really like.

Josie always asks to watch this “scary” Three Little Pigs and the Big Bad Wolf, which is actually an older version. That one is definitely her favorite, but Sylas likes a newer version better (Three Little Pigs kids story cartoon).

They agree on the same Little Red Riding Hood video, so that’s good. I don’t have to sit through two different versions of the same cartoon.

Anyway, Josie asked to make a wolf with paint and of course, I said yes. I never pass up on an opportunity for crafts. I sometimes regret that afterward when there’s a mess to clean up but it’s worth it.

She used brown paint on a paper plate for the wolf’s head and then I helped her cut out construction paper in the shape of a snout, teeth, eyes, ears, and nose.

She glued all the shapes together and put them on the paper plate.

It turned out sooooo cute!! I love it and so does she.

She’s been walking about the house with it in front of her face and growling. She thinks it’s hilarious.

Share your most recent crafts with me in the comments! I’d love to take a look. 🙂

Categories
Holiday Toddler and Preschool Age Fun Toddler and Preschool Age Learning

4 Year Old Boy Gift Guide: Gift Ideas For a 4-Year-old Boy

Sylas’ 4th birthday is this weekend and my phone has been blowing up with people asking what he would like for his birthday. That’s a tough question to answer when I hadn’t really even thought about it myself. For inspiration, I decided to head over to Amazon and come up with a 4 year old boy gift guide.

He’s a pretty typical almost 4 year old and likes PJ Masks, sharks, Paw Patrol, building toys, play doh toys, dress up, puzzles, outside toys, drawing items, legos, etc. It’s such a large variety that it ended up being pretty easy.

I know that it is so tricky buying for certain age groups. Since I struggle with it myself ALL THE TIME, I turn to the internet for buying suggestions from moms who have experience with that age group. I hope you find this boy gift guide helpful and can find something to buy for the 4 year old in your life!

4 year old boy gift guide, gift ideas for a boy

My son would be so excited about any of these toys! A few of them he’s actually specifically asked for. Anything similar to these items would work, too! Buying for a 4 year old is easier than it may seem, I promise!

***This post contains affiliate links. It costs you nothing extra, but I may receive a small commission.***

Where To Find The Toys In The 4 Year Old Boy Gift Guide

Here are the links to the specific items shown in the guide.

  1. Atmosphere Star Projector
  2. Road Repair Truck Legos
  3. PJ Masks Playset
  4. Paw Patrol Sub Patroller
  5. Wooden Tetris Puzzle
  6. Paw Patrol Bubble Machine
  7. Shark Bite Game
  8. Etch-a-Sketch
  9. Picasso Tiles
  10. Play-Doh Kitchen Creations – Sizzlin Stovetop
  11. Superhero Capes

I hope this helps if you’re struggling with gift ideas for a 4-year-old!!

If you’re a mom with a 3 or 4 year old, what things would you add to this 4 year old boy gift guide? Let me know in the comments!

Looking for gift ideas for a 3 year old girl? Check out this gift guide: Gift Guide For a 3 Year Old Girl 

Categories
Weekend Wrap-Up

Weekend Wrap-Up

I hope you all had a good weekend! We did, even though it rained a lot and was cloudy the entire time. Except for Friday (I count that as the weekend because my weekend starts early hehe), it was pretty sunny then. It was still a good time, though.

On Friday I woke the babies up early and got them around to take Peyton to school. He usually rides the bus but he didn’t want to take his Paper Mache Diamondback Rattlesnake on the bus. Liam took an early nap when we got home and the older toddlers and I played restaurant.

When Liam woke up we went to playgroup at the park. We had a blast and the kids amazed me, as always. Josie is growing and learning so much and seeing her play on the playground equipment was kind of bittersweet because she was climbing up things she normally wouldn’t have without help from mama. I’m sad she doesn’t want my help but SO EXCITED for her because she’s learning new things every day. Sylas even had a tiny little milestone… he usually won’t go down the tunnel slides. He’ll only go down ones that are open and he can see out of. Well, Friday he went down ALL THE SLIDES. Even the tunnel slides. WHOOO. Liam still needs my help, of course, but he likes the slides, too. Mommy just has to hold him and that’s completely fine. LOL.

After that the day was kind of a blur… headache and anxiety all day so when Chris came home from work I laid down and he played with them and fed them dinner. I got up to read them their bedtime store and for some cuddles before bed. Momma guilt was kicking in from laying in bed all evening.

Peyton went to spend the night at his grandma’s house (ended up spending the whole weekend LOL) so after the toddlers were in bed we had a quiet house so we caught up on our shows and went to bed early (living the life, I swear).

Saturday we all slept in until 8ish, had breakfast and went to some garage sales. I’m obsessed with garage sales. You can find the coolest stuff. My hubby complains about them but then he gets just as into it as I do.

Hubby’s garage sale treasure. I have NO IDEA where he plans on hanging it.

The toddlers also like garage sales because … toys. I don’t go crazy because they don’t need more toys and we definitely don’t have the room for more toys but they did get a couple hot wheels cars, Josie got a couple necklaces, and Sylas got a hand clapper thing. Totally random stuff but it’s all stuff they’ll actually play with and didn’t cost me much at all. The hand clapper thing is annoying, however, and I’m sure it’ll somehow end up in the trash soon.

After dinner on Saturday Chris and I had some friends over to watch the NBA playoff game. Basketball is life in our house. Duke wasn’t playing though so I wasn’t really interested. I drank wine and pretended to know what was happening.

Sunday was Sunday… I always struggle with Sundays and I’m really not sure why. I always assume it’s just because the next day is Monday but I seriously don’t know. We had a lazy morning and then Peyton and Nevaeh came.

Peyton hung out for a while before going over to his friend’s house because his friend’s pool was getting opened! How can I deny him the first swim of the summer?

My blog went live FINALLY!! I’m so excited about it! I spent the rest of the day working on stuff for the blog, and then it was time to go to Pizza Night at Chris’ parents’ house.

I had yummy wine, the kids played outside. Oh, and Sylas fell down the stairs. Seriously, he just tumbled down the stairs on the deck. It’s only like, 4 steps I think, but he literally barrel rolled down them. I even saw his head make contact once. I was rushing out of the house and Chris (who was already outside) was running over. I’m waiting for screams and before either of us could get to him he sat up and said, “That was awesome!!”. Alrighty then, I’m gonna assume you’re fine. LOL! It was hilarious. Wouldn’t have been funny if he’d actually gotten hurt, though. Obviously. LOL

Oh, and my mother-in-law got me this super cute shirt!

Ssoooo that was our weekend.

Tell me about your weekend!! Did you do anything fun!?


Categories
Big kid fun Craft Family Activities Recipe

How to Make a Paper Mache Diamondback Rattlesnake

My 10-year-old came rushing through the door after school a couple weeks ago excited to tell me about his newest school project. The kids in his class each had to choose an animal and create a 3-D figure of it. He already knew what animal he wanted to create and, after a little research on different materials he could use, he decided on a paper mache diamondback rattlesnake.

Peyton is amazed by snakes, especially diamondback rattlesnakes. He loves to watch YouTube vlogs about them and can list so many random snake facts, so I am not at all surprised he chose to create one.

When he decided to create the paper mache diamondback rattlesnake, I was beyond excited myself because I love paper mache and literally hadn’t done it since I was in middle school art class (using the balloon method, where I created a pig with fins and painted it sparkly purple and pink).

Honestly, I wasn’t very experienced in paper mache other than the few times I had done it before, and a paper mache diamondback rattlesnake was much bigger and more detailed than anything I had ever made.

Paper mache, school art projects, art projects, 3D art, creativity for kids, paper mache diamondback rattlesnake

Materials Needed to Make a Paper Mache Diamondback Rattlesnake

This post contains affiliate links. It costs you nothing extra, but I may receive a small commission.

Getting Started on the Paper Mache Diamondback Rattlesnake

We needed a base to start with, of course, so we used paper towel rolls and toilet paper rolls to make the shape of a diamondback rattlesnake. I showed Peyton how to cut the tubes width-wise (but not all the way through) so that we could curve the tubes into the shape he wanted, being careful not to cut all the way through.

When we got a few cardboard tubes of each size cut, he began creating the shape he wanted for his diamondback rattlesnake. He used tape (generously) to hold the tubes together and to keep the curves he wanted, and then we stuffed the tubes with paper towels as we went along so that they wouldn’t collapse when we started adding the paper mache.

Paper mache, school art projects, art projects, 3D art, creativity for kids, paper mache diamondback rattlesnake

Peyton wanted the head to be higher than the body, so we used a paper towel roll to create the area that ascended up to the head. This was the hardest part because we couldn’t figure out how to get it to stay up without propping it on books. We tried pipe cleaners, paper clips, and extra tape, but nothing worked and the head kept sagging. All of those items did help a little, but it still wasn’t staying where we wanted it. I’ll explain how we dealt with this a little later.

Making the Diamondback Rattlesnake Head, Tail, and Rattle

After getting the shape down the way he wanted, we started brainstorming how to make a diamondback rattlesnake head, tail, and rattle.

We decided to keep using the cardboard tubes, but this time we cut a slit lengthwise, only about 2 or 3 inches down, and only on one side so that we could overlap the cardboard tube, making the opening at one end more narrow. This is how we planned on making the tail and the rattle.

To make the head, he drew the head shape on cardboard and cut it out. Then, we folded up 3 paper towels and then cut those to the same shape as the head and taped them to the bottom of the cardboard head shape. This made the head nice and thick without cutting a bunch of cardboard.

Keep in mind: the paper towel doesn’t have to be cut perfectly, the paper mache will smooth out any uneven edges.

Paper mache, school art projects, art projects, 3D art, creativity for kids, paper mache diamondback rattlesnake

Once all of this was in place, we started on the paper mache.

Paper Mache Recipe – Paper Mache Diamondback Rattlesnake

There are a few different ways to make paper mache, but I used the flour, water, and cooking method. The measurements were 1/4 cup flour and 1 1/4 cup water. I also added a tablespoon of salt to keep bugs and mold away.

If you don’t want to make it, you can always buy it on Amazon. I’ve used this kind in the past (my first time making it from scratch was for this paper mache Diamondback Rattlesnake), and I absolutely loved it.

Paper mache, school art projects, art projects, 3D art, creativity for kids

I brought the mixture to a slow boil on the stove and then set the timer for 3 minutes. It was a little chunky and I worried about that, but it went on super smooth and dried completely.

While the paper mache mixture was cooling, Peyton ripped pieces of newspaper into long strips. These strips were to dip in the mixture and stick to the snake base.

Paper mache, school art projects, art projects, 3D art, creativity for kids, paper mache diamondback rattlesnake

How to Apply the Paper Mache

When the paper mache is ready and cool, dip pieces of newspaper in it until they are completely covered. Remove any access paper mache, and apply in a single layer on your project.

The first layer of paper mache took the longest time to dry, about 8 hours or so. We only did one layer and then let it dry completely. Layers 2 and 3 we did at the same time, and those took about 6 hours to dry. We did 4 layers total, give or take a little in areas that didn’t need as much or areas that needed just a little more.

How to Form and Hold the Paper Mache Shape

We used a cup to prop the head on while it was drying since we couldn’t get it to stay in place with anything else. I was hoping for the best here, and it actually worked. After the first layer dried, the head stayed up on its own! However, when it wasn’t supported we could see the cardboard tube bending in the wrong directions underneath the paper mache and newspaper, so I left the cup in place to avoid tearing and breaking. After the 3rd layer dried, the head stayed up on its own with no problem at all!!

I also used a cup to hold the rattle in an upward position while it dried. It kept wanting to lay down, but the cup did the trick there, too. It’s all about getting the paper mache animal to dry in the exact position you want it to permanently be in.

Paper mache, school art projects, art projects, 3D art, creativity for kids, paper mache diamondback rattlesnake
The crease (pictured) is where the snake was bending without support under its head. After a couple more layers and drying completely, the head had no trouble staying up.

I was worried about it not being strong enough, so I had Peyton add a 4th layer using white paper. This final layer only took about 4 hours to dry. The plain white paper was helpful when it was time to start painting because there wasn’t any print to cover up.

Making Eyes For a Paper Mache Diamondback Rattlesnake

After Peyton finished the 4th layer, we made the eyes. Peyton had the idea to use a teal-ish colored playdoh mixed with a bit of black paint. Once it was completely mixed, he rolled the playdoh into eye shapes. We used the chunky part of the paper mache (the chunks were handy, after all!) to hold the eyes on. Then we ripped small squares of newspaper to cover part of the eyes and make them blend into the head.

Paper mache, school art projects, art projects, 3D art, creativity for kids, paper mache diamondback rattlesnake

Painting a Paper Mache Diamondback Rattlesnake

When the paper mache was completely dry, Peyton began the painting. I didn’t help him with this part except to get the underneath areas that would be visible.

He mixed colors to create the base color and painted the whole snake that brownish/tanish color. He used that same color, added more white, and did the lower part of the snake with the lighter color. This is because a Diamondback rattlesnake gets lighter in color near the bottom.

Next, he used black and white to make diamonds on the back and to put slits in the eyes.

Paper mache, school art projects, art projects, 3D art, creativity for kids, paper mache diamondback rattlesnake

Final Thoughts on Paper Mache Diamondback Rattlesnake

He did such a good job!! I’m so proud of him for working so hard on this project. At school, he has to display it for the class and give a two-minute speech. The speech is about the diamondback rattlesnake habitat, what they eat, where and when they sleep, and a fun fact.

This could be a fun project at home for your big kids! Peyton plans on displaying his in his bedroom when he brings it back home. It’ll keep them learning and being creative, and will definitely fight boredom!

Which paper mache animal do you think your child would choose to make? Let me know in the comments!